Showing posts with label silhouette alta. Show all posts

25 September 2021

Creating a two tone pendant in Silhouette Alta.

hi there everyone!
Today is a quick  tutorial on how to use 2 different colour filaments to make a two tone pendant.
Given this file ended up not the best to print, the way to create it is still the same.


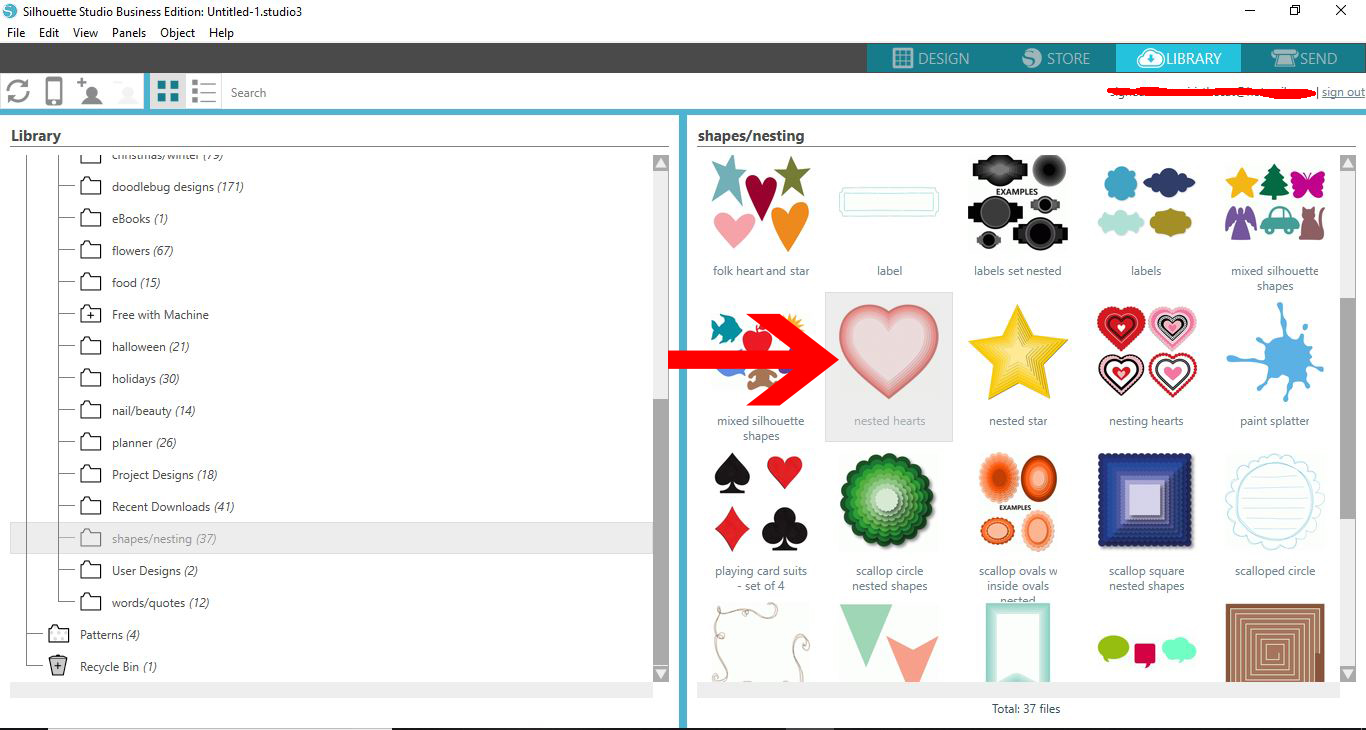
1- Open the Silhouette Alta software. Click on the library tab on the right side.


2- Select a design you would like to use. Double click on it.


3- A new window will appear. Click on the wax pendant icon.


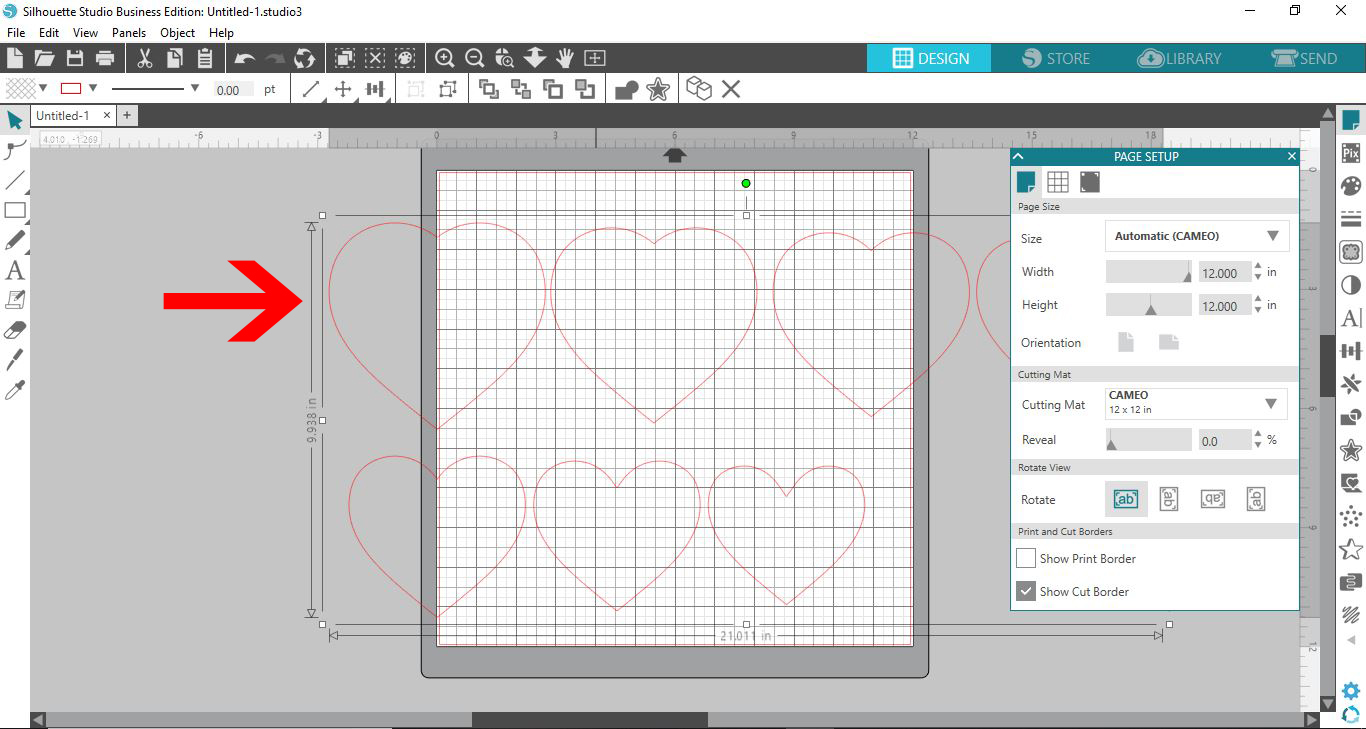
4- Adjust the size of your design.


5- With the design selecting, right click and ungroup.


6- Separate the inside from the base.


7- To make the hole for the pendant, click on the shape tool and then select the tube shape.


8- Move the tube to where you would like it on your design.


9- Lower the height so it is the same as the backing plate.


10- Select both the tube and the backing plate and right click then group.


11- Click on the 3D print icon. The base is ready to print. Adjust the print settings and print.


12-

13- Select the insert of the design. Adjust the print settings and change the filament colour. Print your design.


14- Print your insert.


15- Change your filament and print your base.


16- Using filament glue adhere the both together.


06 July 2021

How to use PSD (photoshop) files in the Silhouette Alta 3D software.

Hi there! today I will share how to use a PDF file with your silhouette Alta 3d printer.
To do this technique you will need software that can access a PDF file and save as a SVG file. I am using Silhouette studio business edition. Business edition is not free but you can usually pick the upgrade on special at many sites like swing design online. 

1- Open Adobe Photoshop. I am using photoshop elements.(you do not need to full version ) Click on the open icon.


2- Select your PSD file. Open it.


3- In the layers tab, select all the layers you do not want to use in your 3D print file. Then delete them.


4- Move the layer you have kept to the middle of your design space.


5- Go to File - save as.


6- When you save the file, save as a JPEG file, not a PSD file.


7- Go and load Silhouette Studio software. (free edition) Click on the open folder icon.


8-Your JPEG will load onto your design space. Click on the trace icon.


9- Trace your design.


10- You may need to trace the parts several times and combine them to replicate your design.


11- Delete the JPEG and only have your traced image in your design space.


12- Go to File - Save as - Save to hard drive.


13- Open the Silhouette Alta 3D software. Click on the open folder icon.


14- Fine your studio file and open.


15- A new window will appear. At this point you can choose what you would like to convert the file to. I will be creating a jewelry box.


16- Your file will convert and At this point you can either ungroup or add /remove from your design. When you are happy you can click on 3D print.


17- Your design will slice and you can print.


18- Your design is printed.


10 June 2021

How to create a personalized trinket box in Silhouette Alta 3D printer

Hi there! today i have a tutorial on how to create a trinket box with the silhouette Alta 3D printer. There are many preset options on the software which make these little cool gifts easy to make!!


1- Open Silhouette Studio software (free edition). Click on your library if you have your shape saved. Alternately import your shape.


2- Select your shape.


3- Right click and ungroup the hearts.


4- Select the heart you want to use.


5- Type your text.


6- Select the font you want to use. I am using The Southampton font from fontbundles.net


7- Select the text and right click and ungroup.


8- Adjust the letters so they overlap. Select the letters and then right click and select weld.


9- Select both the text and the heart, right click and group.


10- Go to File - Save as - Save to hard drive and save your design.


11- Open the Silhouette Alta software. Click on the the open file icon.


12- Find your studio file and open.


13- A new window will appear. Click on jewelry box.


14- your trinket box is created with an embossed personalized name.


15- You can move the lid from the base. Once you have the box to the size you need, click 3D print.


16 - Adjust the print settings to your needs and then click on print. You can print the lid and base separately. and even in different colours if you like.


17-Print each part separate. The box.


18- The lid


19- Then remove each piece of your mat and they should fit perfectly together.