Today I am going to share with you how to create a foiled sticker using silhouette studio free software and the Heidi Swapp Minc machine.
With this technique you can use other software like word or inkscape. the only difference for me with silhouette studio is I can create a print and cut so I can get my cutter to cut out the shape of the sticker. Alternatively you could use say some pre cut Avery stickers and use the free software that comes with those stickers.
1- Open Silhouette Studio. Click on the open file icon.

2- Select your design. I am using Valentine cat couple SVG from design bundles.net

3- Select your design and resize.

4- Click on the shape icon. While holding the shift key, create a circle.

5- Centre the design inside the circle.
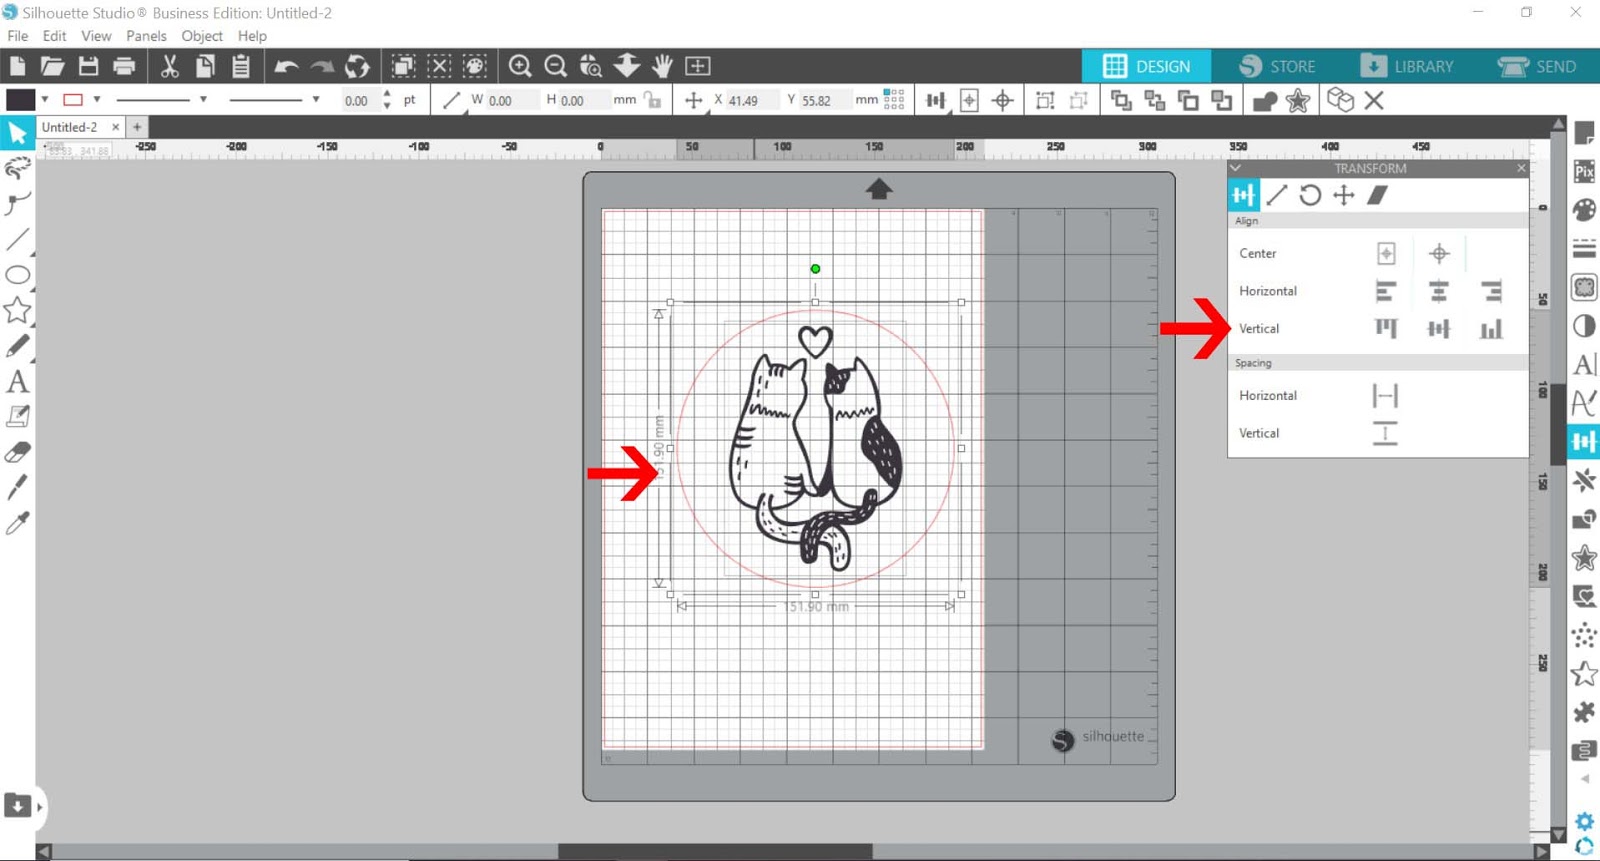
6- Group the design and circle together.

7- Click on page setup and add registration marks for print and cut.

8- Click on the replicate icon and replicate your design.

9- Continue to replicate to fill the page.

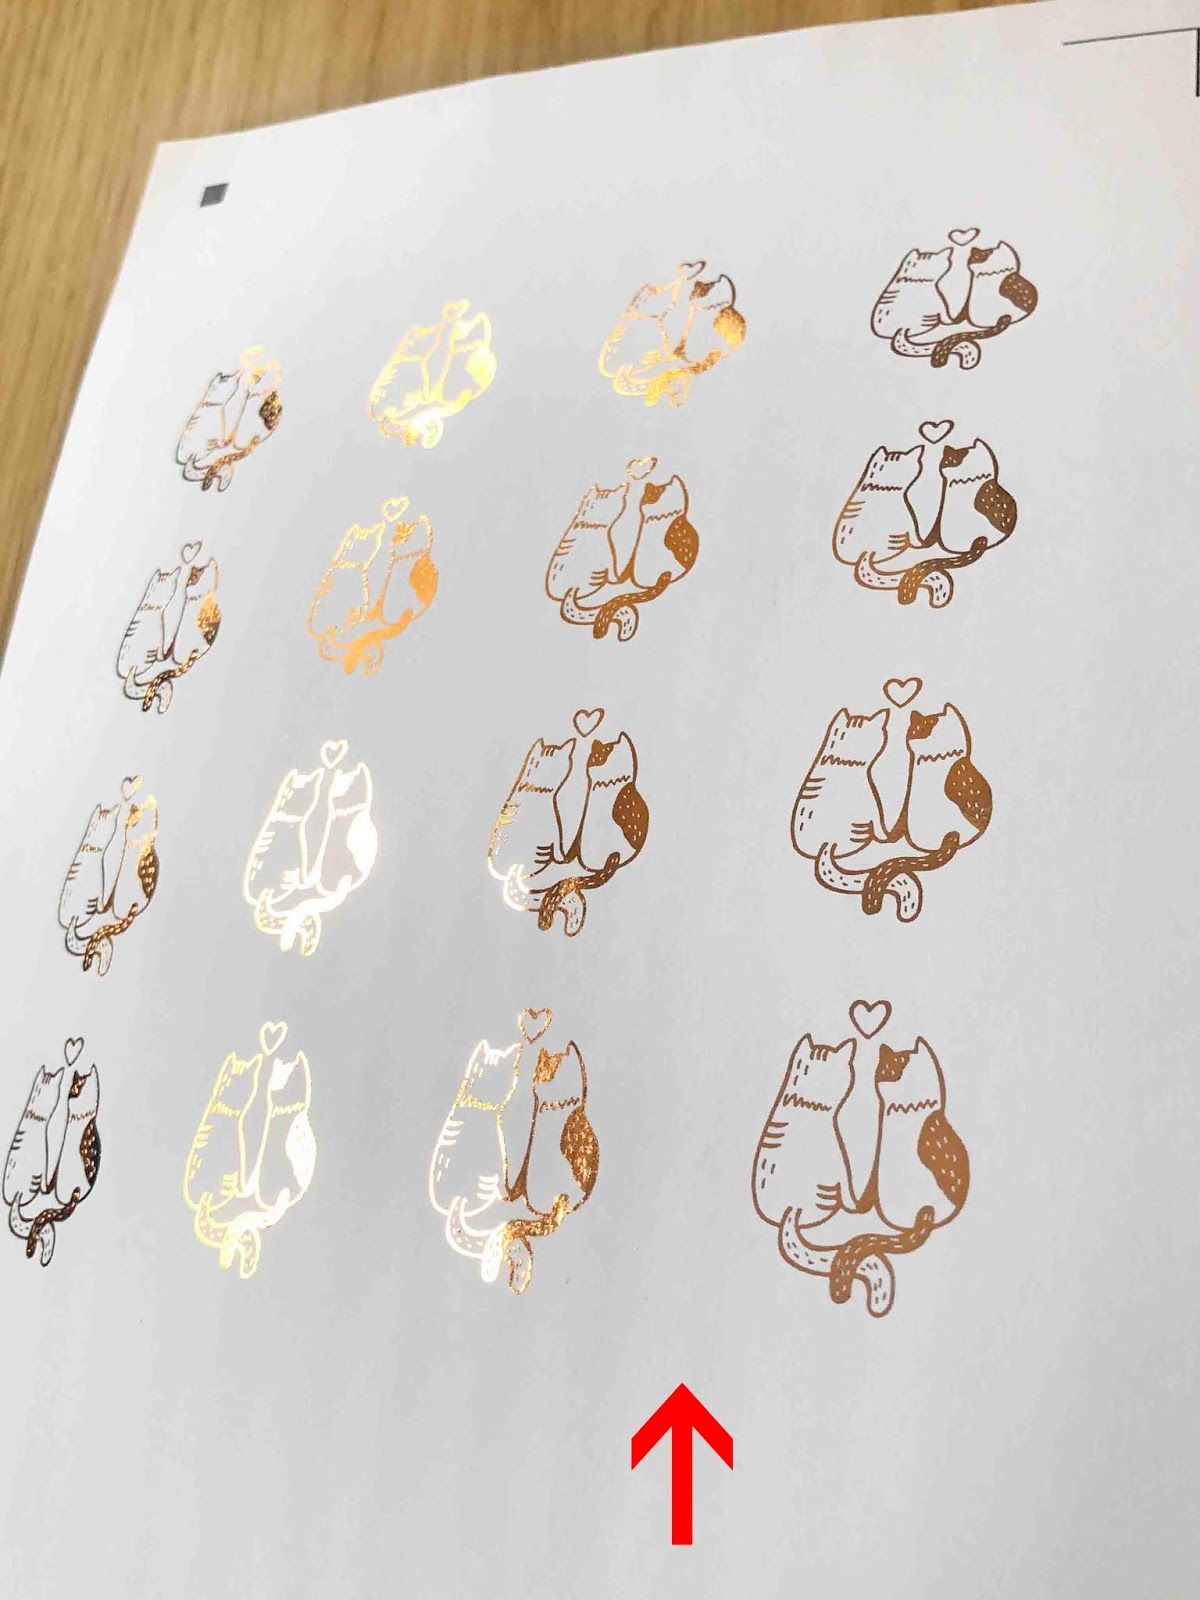
10- Click on the print icon. Set the print quality to high and then print.

11- The design is printed on the sticker paper.

12- Place the foil over the design. Make sure you do not cover the registration marks. They need to be black to be registered in the silhouette. Place baking paper over the card and foil then place into a transfer folder.

13- Turn the minc on and set to 3. I am using plain white matte sticker paper. if using clear sticker paper I would recommend a setting of 2.
Run through the minc machine.

14- Remove the foil from the sticker papers. The design are now foiled.

15- Place on the cutting mat. Go to the send screen and click on the line option for cutting.

16- Select the line color that only cuts the outside sticker lines. Make sure the media type is set. Then click on send.

17- You design will cut the stickers. You can use the stickers for many needs.


