Today I am sharing with you all how to use the basic functions on a silhouette curio. Over the coming weeks I will add more tutorials on different things you an use the curio for. I love that the curio has the pressue that the silhouette does not. especially for engraving and embossing.
1- Open Silhouette studio software. As you can see the screen will show the cameo mat.
Click on the page layout tab.

2- Click on the cutting mat drop down box.
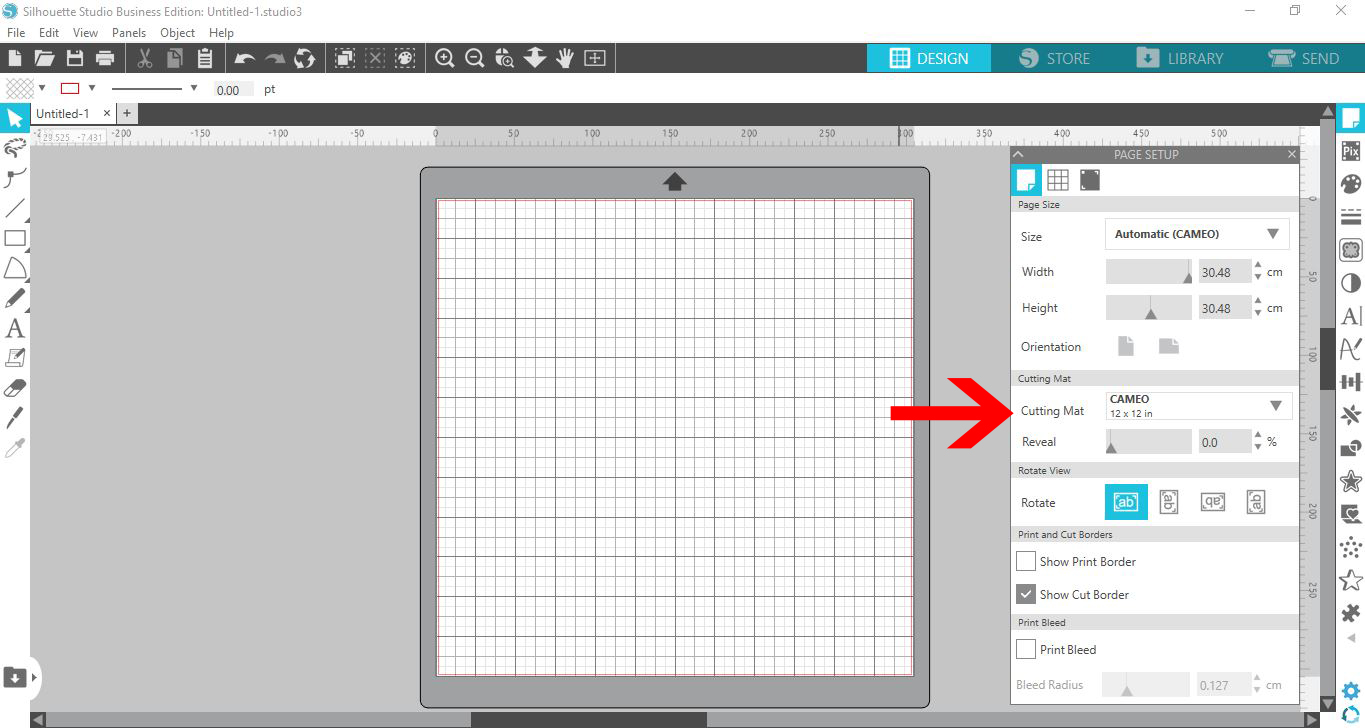
3- In the drop down box you can see several different options for the curio. Select the curio cutting mat.

4- You will see that the mat changes now to the curio plate and mat area.

5- Insert your design. and using the little nodes resize to the size you need.

6- Go to the send screen. You will see that at the bottom the cameo is still connected. (this will not be the case if you only own a curio) We need to choose what machine we are using manually.

7- Click and in the drop down box select the curio machine.( make sure your curio is connected via the USB)

8- Note that you have a little red circle next to the cut options. Below that there is a little blue circle. The red circle lets you know which holder to place your blade. If you were sketching and cutting you may use the red and blue circle.

9- Once you have set the machine check to see that the green tick is next to the curio, You are now ready to cut. Load the mat and click on send.


