Today I'm sharing a little basic tutorial on how to make a simple pencil holder with the silhouette Alta and the silhouette software.
This technique will also help build other shapes and designs as "wall" sides and bases are a good startig block to designing most things.
1- Open Silhouette Alta software. Click on the shape icon.
2- Select the cube shape.
3- Select the cube.
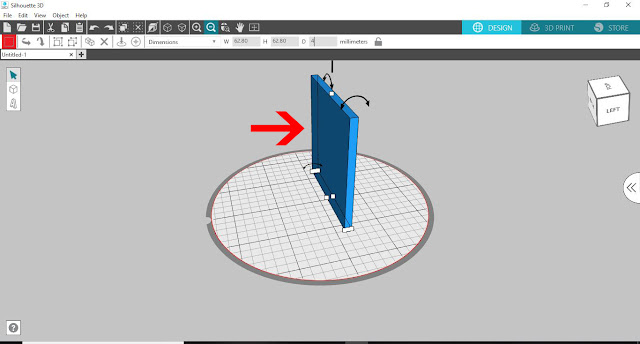
4- Adjust the size of the cube and the thickness to make a thin wall.
5- Select the wall and right click. Duplicate.
6- Duplicate 3 more times. Select one of the walls.
7- Move each wall to create a rectangle. Make sure each one is flush on the corners.
8- Duplicate one of the walls.
9- Rotate the wall so it is flat to create the base of the pencil holder. Line it up under the walls.
10- Click on the select all icon.
11- Right click and group the walls and base.
12- Select the text icon to personalize the pencil holder.
13- Type your text.
14- Select the text and select your font. I am selecting the font Garlic Butter from fontbundles.net
15- Move your text so it is attached to your pencil holder.
16- Click the select all icon then right click and group.
17- Click on the 3D print icon then adjust your print settings and click print.


