28 April 2019

How to change designs in Silhouette Alta 3D printer software.

Hi there everyone!
When you get your Alta 3D printer i'm sure that you will want to change a design you have purchased. Sometimes you need to adjust for the usability of the design or change size or add to a design.
Below will show you the basics on how to alter your designs. I will add more detailed tutorials at a later date, but for now the basics of altering your designs is below.


1- Load the Silhouette Alta software. Click on the tab to access the library.


2- Click on the Library.


3- Go the the 3D designs you have loaded. (you can also load a 3rd party .obj or .stl file).


4- Select your 3D design. Double click to apply to your design area.


5- Your design will appear onto your design area.


6- You will need to ungroup the different parts of your design. Right click and then select ungroup.


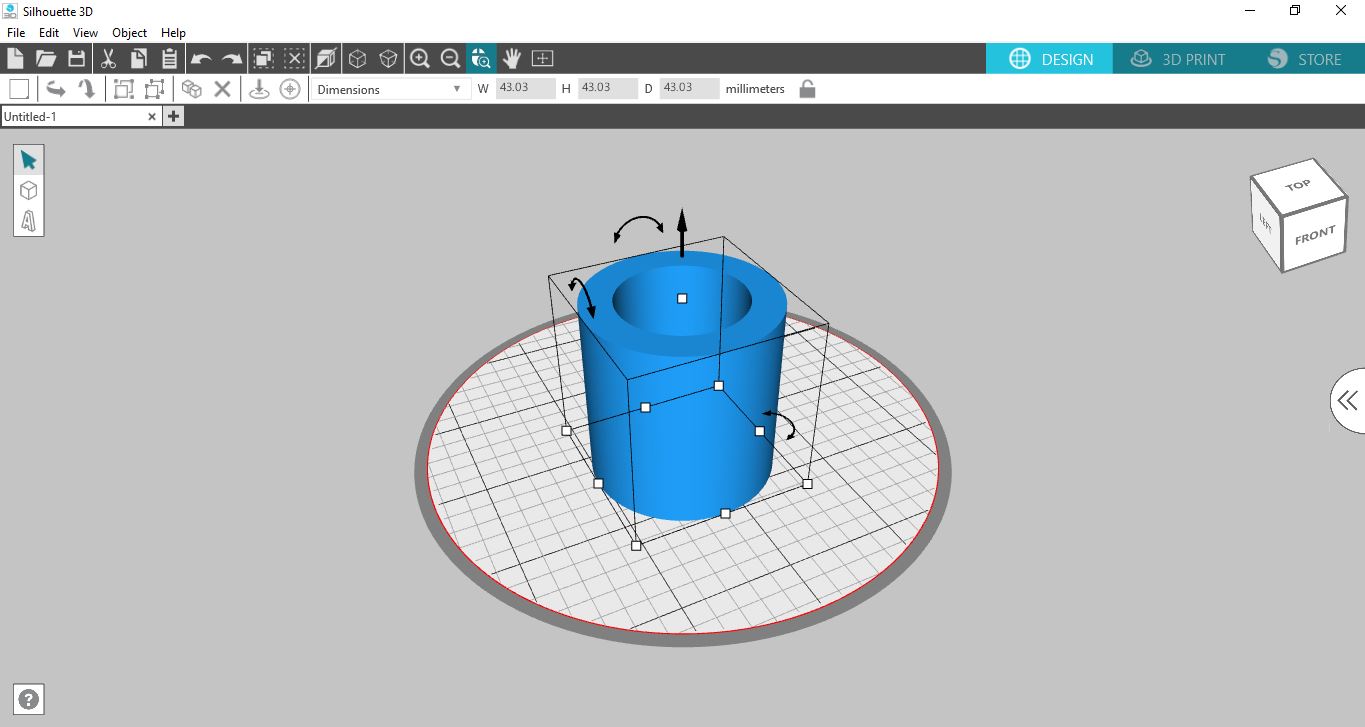
7- Pull all the sections apart. Select the part of the design you would like to replicate and then click on the duplicate icon until you have the number your require.


8-  Rearrange the parts to suit your needs. Select them and then click on group. this way they will print as one object not 3 (its kind of how the weld function works in silhouette studio.)


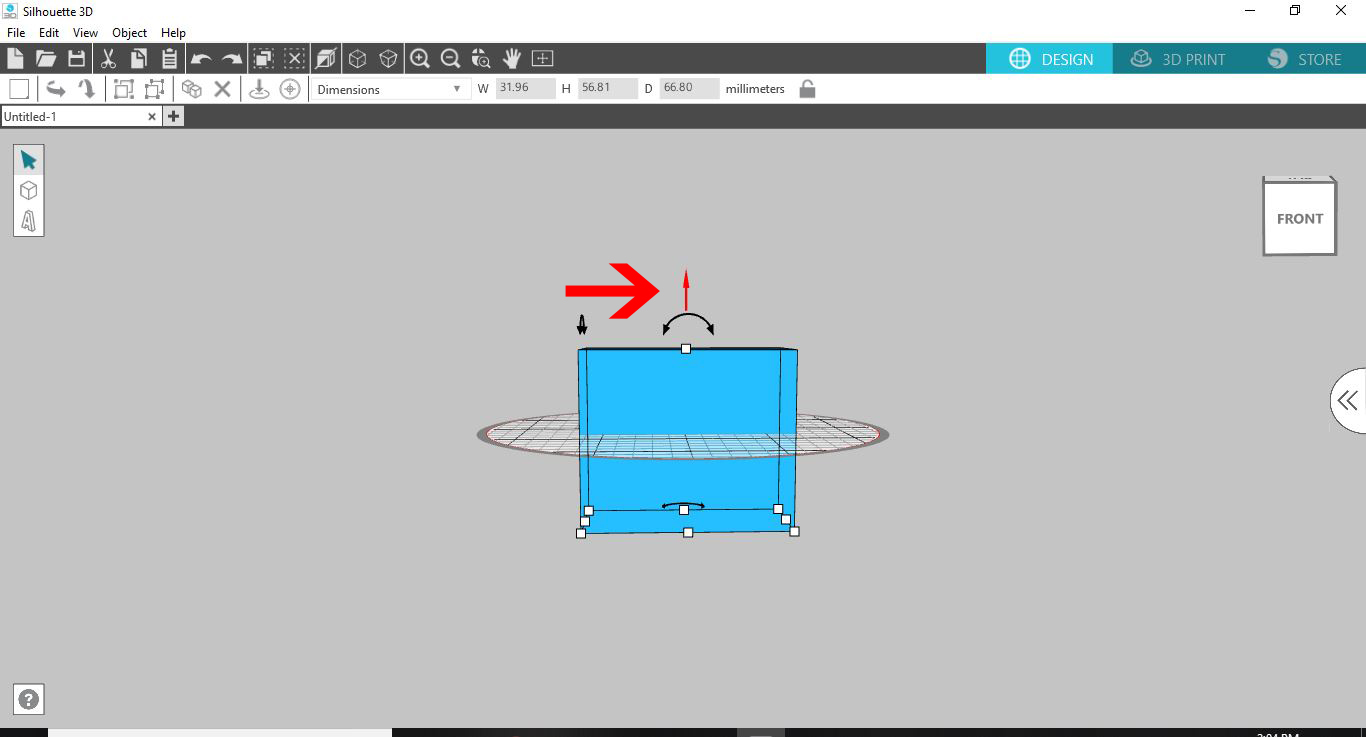
9- Alter anything else you would like to use, then with everything selected, right click and group as one object (or if you need to print in different colours leave ungrouped and glue at a later date together.


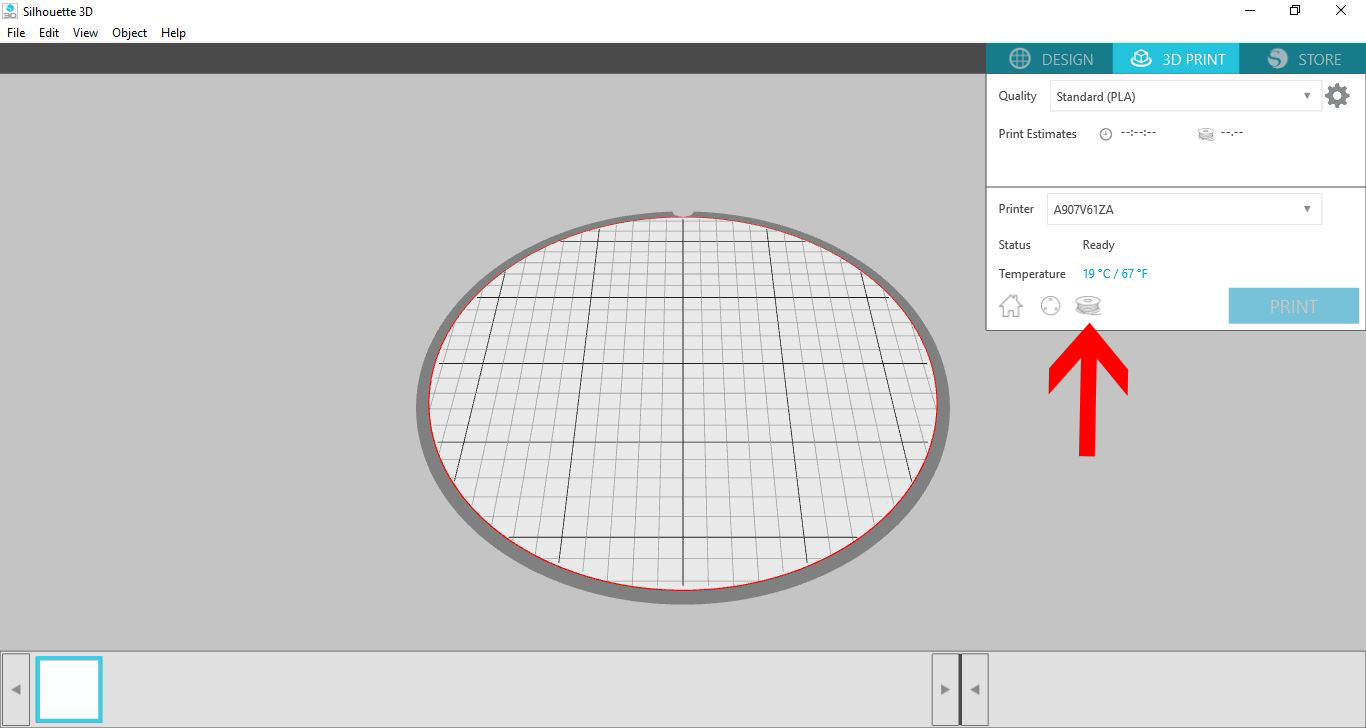
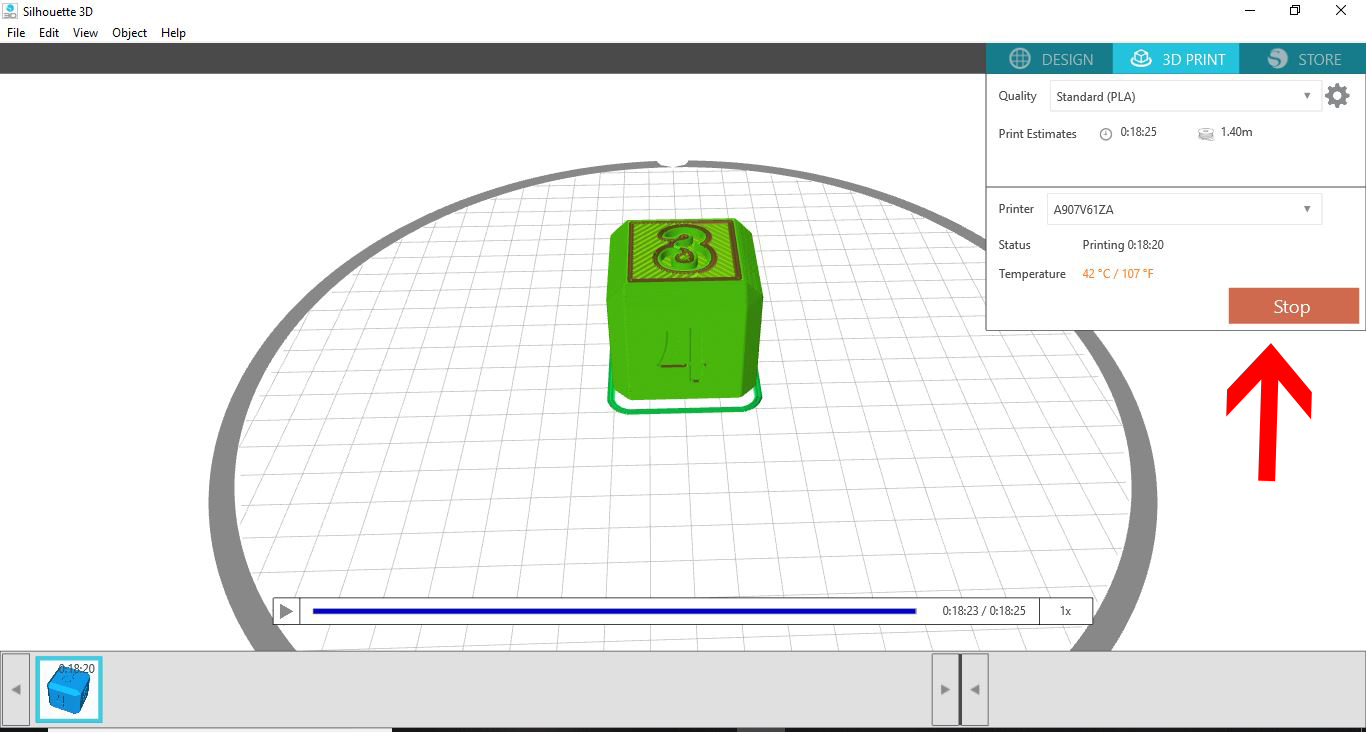
10- Once you are happy, click 3D print and select the quality of print and then load filament and print your design.


19 April 2019

The Shape tool in Silhouette Alta 3D software.

Hi there everyone!
Today we will be looking at the shape tool in the Silhouette Alta 3D software.
Unlike the regular silhouette studio software, the alta software creates shapes that are 3D. 
Below is how the shape tool works.

1- Open Silhouette Alta 3D software. Click on the shape tool.


2- The shape tool consists of 10 different shapes that combine can create a number of projects for you to print.


3- Cone.


4- Cube.


5- Cylinder.


6- Dome.


7- Regular Pyramid.


8- Sphere.


9- Frustum of cone.


10- Torus.


11- Tube.


12- Wedge.


13- You can click on any node on your design to change the size and shape.


14- For example you can click and drag on the bottom node to change a cube into a rectangle.


15- By clicking on the top node and dragging up you can adjust the height.


16- You also have the option to use the curved arrows to change the angle of your design.


17- You can also use the alternative curved arrow to change the angle of the shape so you can move it from horizontal to vertical and vise versa.


18- By adjust the vertical arrow you can move your design to ensure it is placed on the design bed correctly as when designing designs can move and end up under the bed plate.


19- Once you re happy you can then click on 3D print and print your design.


12 April 2019

How to unload filament in the Silhouette Alta 3D printer.

hi there!

With the Silhouette Alta 3D printer you need to ensure you do not leave the filament in the tubing or print head. Filament is a funny thing and is affected by hot and cold and humidity. This is why you need to store it in a cool dry place. By leaving filament in your machine you are risking the filament clogging the print nozzles or snapping in the tubes. By following the below tutorials it will oly take you a few moments to ensure that this does not happen.


1- Once you have finished all your printing for the day you need to unload your filament. Click on the 3D print icon.


2- Next Click on the little roll of filament icon.


3- On the new screen click on the Unload filament option.


4- Shut the machine door and lock it. then click unload.


4- make sure there is no obstructions in the way. you will see that the machine will send out a small amount of filament. This is waste you can dispose off shortly.


5- Make sure there is ample filament space. as the machine will reverse the filament out of your machine. Once it has finished you can press on the lever and pull the last bit out.


6- Make sure that when you do this you trim any edges ready for the next load.

Not so hard! A quick and easy process to ensure you machine stays in top condition for future prints.


04 April 2019

First time printing on Silhouette Alta Software.

When you get your alta its all excitement and fun to get it out of the box and then make your first print. and if you follow these steps  the first print will be a success.
Pick a project that comes free with your machine. you will know that this project is tried and tested and will print correctly.
The issues with free print files is you do not know if they will work with the Alta so by using a silhouette file you know it will work. if it does not it may be another issue or calibration that is needed.
Lets try our first print, I will be using the free dice that comes with the machine.


1- Load up the Silhouette Alta 3D printer software. For your first print pick something simple from the free designs that come with the software.
To do this click on the arrows to access your library.


2- Click on Library.


3- Access the free designs and select a simple design. I am using the die.


4- When you click on the image the 3D image will appear on your design space.


5- At this point you can adjust the size of the design. Click on the 3D print icon.


6- The next screen may take a few seconds to appear. This is the software creating the slicing of the design ready to print.  You can see the sliced design on your screen.
To zoom in use the roller on your mouse. To rotate right click your mouse and hold then move around to see different angles of your design.


7- You can also click on the play icon to see the printing process play through to see how your design will print.


8- At any point you can click on Print to start the 3D printing.


9- The 3D printer will print to get to 200 oC then start to print your design.


10- At any point you can click on the stop icon to stop the 3D print.


11- Once your print has finished (or if you have manually stopped it) A message will appear letting you know that your Is finished and to allow the printed file a few minutes to cool.


12- The print is now complete. You can remove the printed design from the base plate and detach the brim that is around the design.