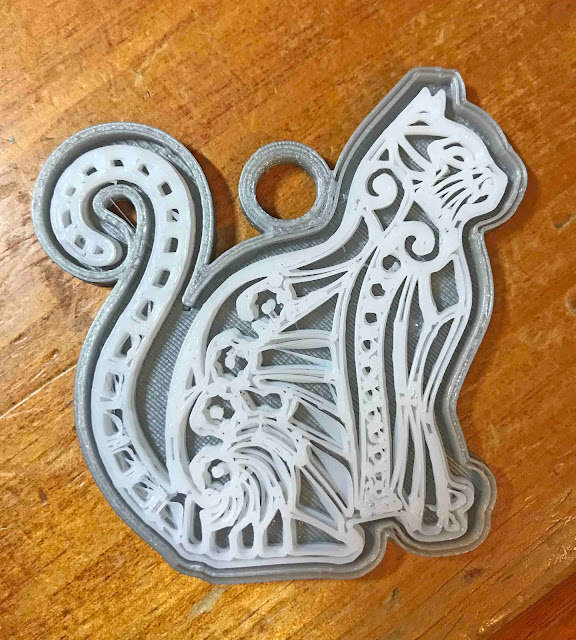
Today is a quick tutorial on how to use 2 different colour filaments to make a two tone pendant.
Given this file ended up not the best to print, the way to create it is still the same.
1- Open the Silhouette Alta software. Click on the library tab on the right side.
2- Select a design you would like to use. Double click on it.
3- A new window will appear. Click on the wax pendant icon.
4- Adjust the size of your design.
5- With the design selecting, right click and ungroup.
6- Separate the inside from the base.
7- To make the hole for the pendant, click on the shape tool and then select the tube shape.
8- Move the tube to where you would like it on your design.
9- Lower the height so it is the same as the backing plate.
10- Select both the tube and the backing plate and right click then group.
11- Click on the 3D print icon. The base is ready to print. Adjust the print settings and print.
12-
13- Select the insert of the design. Adjust the print settings and change the filament colour. Print your design.
14- Print your insert.
15- Change your filament and print your base.
16- Using filament glue adhere the both together.


No comments:
Post a Comment