10 June 2021

How to create a personalized trinket box in Silhouette Alta 3D printer

Hi there! today i have a tutorial on how to create a trinket box with the silhouette Alta 3D printer. There are many preset options on the software which make these little cool gifts easy to make!!


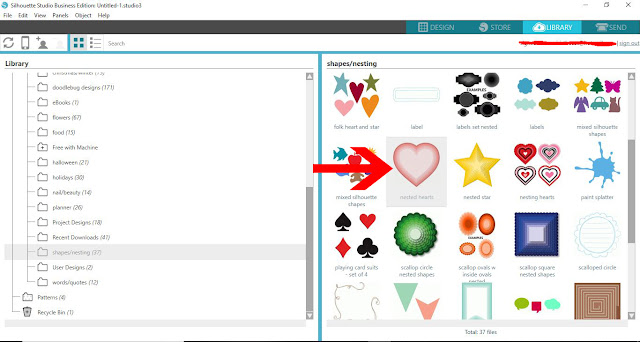
1- Open Silhouette Studio software (free edition). Click on your library if you have your shape saved. Alternately import your shape.


2- Select your shape.


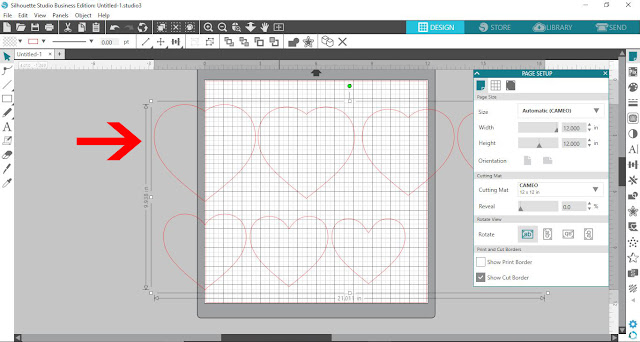
3- Right click and ungroup the hearts.


4- Select the heart you want to use.


5- Type your text.


6- Select the font you want to use. I am using The Southampton font from fontbundles.net


7- Select the text and right click and ungroup.


8- Adjust the letters so they overlap. Select the letters and then right click and select weld.


9- Select both the text and the heart, right click and group.


10- Go to File - Save as - Save to hard drive and save your design.


11- Open the Silhouette Alta software. Click on the the open file icon.


12- Find your studio file and open.


13- A new window will appear. Click on jewelry box.


14- your trinket box is created with an embossed personalized name.


15- You can move the lid from the base. Once you have the box to the size you need, click 3D print.


16 - Adjust the print settings to your needs and then click on print. You can print the lid and base separately. and even in different colours if you like.


17-Print each part separate. The box.


18- The lid


19- Then remove each piece of your mat and they should fit perfectly together.


07 June 2021

Creating a foiled print and cut file using silhouette studio and the Heidi Swapp Minc machine

Creating a foiled print and cut file using silhouette studio and the Heidi Swapp Minc machine is an easy process to do. check out the tutorial below to help you get started!!!

1- Open the silhouette studio software. Click on the open file icon.


2- Select your file. I am using Tropical border SVG from designbundles.net


3- Resize your design. Click on the page setup icon and then the registration option.


4- Add the registration marks. this is so you can complete the print and cut.


5- Next you need to create an offset to cut around the image once foiled.


6- As you can see, once the offset is completed the image is in more than one piece still. This can happen with some designs. There is a work around this issue.


7- Go to the shape tool and draw a rectangle. place over the gap that caused the parts to offset separate.


8- Select both the design and shape. Group together.


9- Click  the offset icon.


10- Once your offset is created, select the design and ungroup from the shape.


11- Move the shape away then delete it. You will see that the offset now covers the whole design.


12- There can sometimes be little parts of the offset you may need to remove. Select the image and release compound path.


13- Select any odd cut lines you do not need. Group back together.


14- Click on the print icon and make sure the preferences are set to the highest print quality setting.


15-your design is printed with the registration marks. We need to make sure these are not foiled so the silhouette machine can use them to print and cut.


16- Place the foil over the design avoiding the registration marks. Place in the transfer folder. Next place a piece of baking paper over the foil. By covering with foil this will avoid the registration marks transferring o the folder and not being able to be read by the silhouette.


17- Set the minc machine to 3 and run the transfer folder through the machine.


 18-Your design will be foiled but the registration marks will not be foiled.


19- Place the design on your cutting mat. Go to the send screen. Click on line type and select only the red line for the offset to be cut. Select the media and cut type. Click send.


20- The machine will start to cut the design.


21- Your design is now cut.