The text tool is the Silhouette Alta software is great to add and create 3d printable text. Below is a quick tutorial on how to use the text tool.
1- Load your silhouette Alta 3D software. Click on the Text icon.

2- A new window will appear. Type your text. Click OK.

3- Your 3D text will appear on your design space.
4- You can click on the font drop down box to select your font. I am using Black Velvet 2 from fontbundles.net.

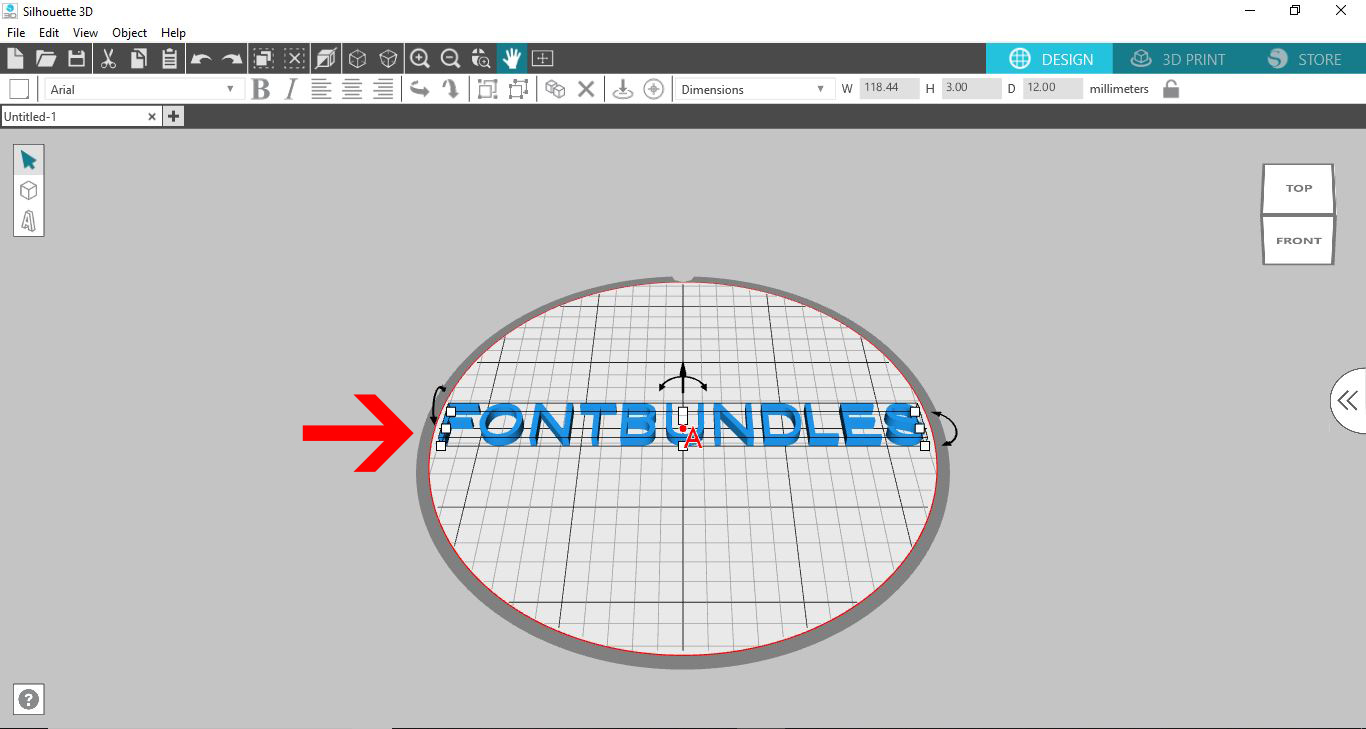
5- Your text will change to the font.

6- You can resize height, width and length by adjusting nodes that surround the text.

7- Click on the 3D print icon. This will slice your design and make it ready to print.

8- If you would like to have your text joined you will need to use a different process.
9- Click on the text icon .

10- Type the first letter of the text you would like to join together.Click OK.

11- Adjust the size of your letter.

12- Repeat step 9-11 for every letter you need.

13- Now you have all your letters, slightly overlap each letter (The same as you would when you are preparing text to weld in silhouette studio.).

14- Adjust the height of each letter. You can have each letter different heights if you like.

15- Once finished, Click on Select all.

16- Right click on the selected text and group your text. By grouping your text, the printer will print as one file rather than individual letters (similar you welding in silhouette studio software)

17- Click onto 3D print and then select your print quality and then Print icon.

18- Your text will print as one file.

19- Once finished you can see that the text is joined (welded).


No comments:
Post a Comment