I was Demoing for Fiskars last weekend at the Sydney Paper Craft Festival and one of the common questions was...."Can I use my Fiskars Texture Plates in my die cutting machine?"
"YES!!!" is the answer.
Here is a Tutorial on how i use my Fiskars Texture Plates in my Cuttlebug.
Firstly you will need the A plate.

Then grab your self a piece of Tim holtz grunge board. I have used card in the past but as grunge board is a little “spongy” it becomes more flexible if you are using card and paper.
I had spot grungeboard but is doesn't matter what one you use as it is just creating the extra thickness.

Then place a silicone mat.
I brought a silicone baking tray from the reject shop for $3.00 and cut it down to fit my cuttlebug...a heap cheaper than buying a one specifically for your diecuting machine.

Then the paper you want to emboss. I have used pearl paper here so you can see the embossing at the end clearly but this “sandwich” works fine for card also.

Next place your Fiskars texture plate the pattern you require face down.
(I have placed down the Peacock feather texture)

Lastly place the B plate from your cuttlebug.
 Run the “sandwich” through the Cuttlebug........
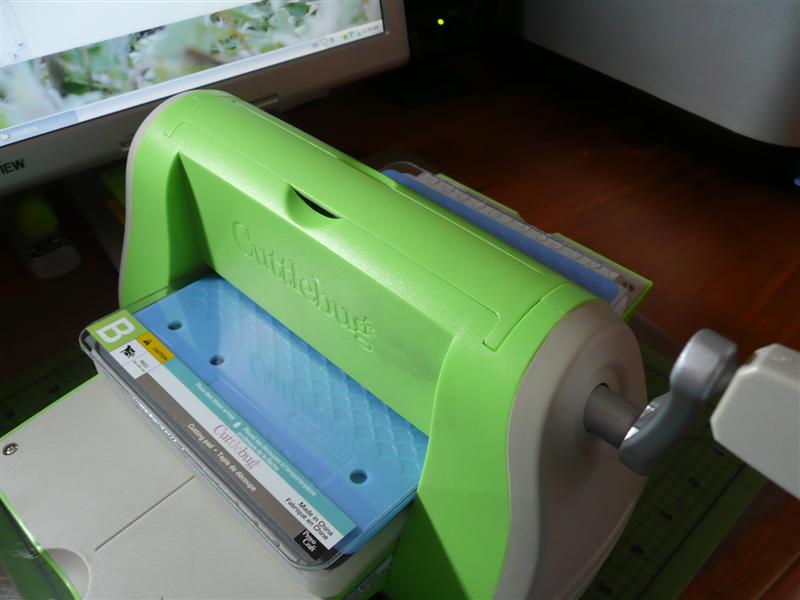
........and here is the embossed paper!

I have the fiskars “sandwich” written on the back of my A plate so i do not forget it.

And here is the finished card.
I have used the texture plate my Fiskars trimmer and Fiskars water boundary punch.
 So I hope this helps everyone out there to blow the dust off your old Texture Plates and give them a new lease of life!!!


No comments:
Post a Comment